
- Miscellaneous
Recently, we’ve gotten several questions about best practices for recording videos at home. The coronavirus pandemic is making it a necessity for people who don’t have much video recording experience to figure it out—fast. Teachers may have to record a lesson. CEOs may need to tape a coronavirus update. Small business owners and marketers all over the world are scrambling to put out more video content, since they know people have extra time on their hands and are likely to be online.
That’s why we put together some simple guidelines for filming a quality video from home. Because we know people have different needs for their videos and may or may not be looking to spend any money on gear, we have tips that will help you make the most of what you have or make big improvements with some investment.

Device:
Free
Your phone or laptop camera won’t match the quality of a DSLR (digital single lens reflex) or other type of camera, but it will still do a great job. No need to drop the big bucks on a new camera, as long as incredible quality isn’t your goal. In times like these, people are even more forgiving of video that isn’t quite crystal clear.
Low-Budget
Consider picking up a nice webcam to take your video up a notch.
Bigger Budget
If video quality is of utmost importance, you can get an entry-level camera setup—like this one—for less than $500. If you’ll be doing a lot of video, get the best DSLR and lens your budget will allow.

Shooting Techniques:
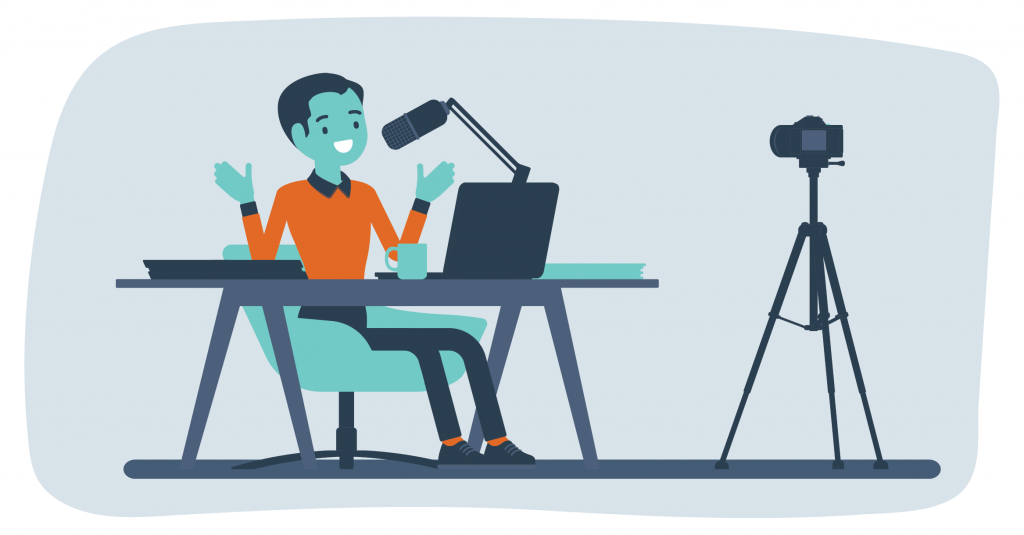
- Put your device on a tripod or other stable surface (like a desk, chair, or table) to film. This will help you avoid video shake.
- Try to keep the phone, laptop, or camera lens at level height—it’s most flattering. If you don’t have a tripod, lift your device with a stack of books.
- If using a laptop, make sure the screen is at a 90-degree angle. Tilting it can distort your face.
- Don’t sit too close to the camera, as this can also distort your face.
- Shoot horizontal if you’re using your phone.
- Look into the camera lens, not the screen.
- Use the rear camera to shoot if you’re using your phone. Typically, front cameras have a lower resolution.
- Avoid zooming in, which can cause blur. Move the device closer to you instead.
- Think about your framing ahead of time. Smack dab in the middle of the video may be intuitive, but consider leaving some room to one side if you’ll be adding any text.

Audio:
- Phone audio isn’t ideal, but it will be fine for a basic video. Just make sure you’re speaking clearly.
- If audio quality is of concern, get a simple lavalier mic or a microphone. You could also consider borrowing a family member’s phone on which to record your audio while you use your phone to tape. (You’ll have to edit the audio and visual together later, though.)
- Be sure to choose as quiet a location as possible.
- You can reduce echo using furniture!

Background:
- Choose a location with a nice background and few distracting elements. Sit in front of a plain colored wall or a bookshelf, for instance.
- No good background options? Buy a backdrop kit, or you could even just hang up a white or black bedsheet behind you.

Lighting:
- The best cheap lighting option is taking advantage of natural light coming in through a window. Just turn your whole setup so you are facing the window.
- Avoid shooting directly under overhead lighting, which casts shadows under your facial features. (Hello, raccoon eyes.)
- You can use lamps for additional lighting, if no other options are available. Remember that the larger the light source, the softer the light.
- For a more professional look, buy some lighting equipment. Even a simple kit or a ring light can make a major difference!
- Unless you’re aiming for a dramatic mood in your video, a simple two- or three-point lighting setup will serve you well. Play around with the lights available to you to figure out which angles, heights, and distances provide a nice, even light and fill in shadows.

Editing:
If you think you may have to cut some portions out of your video, stitch others together, or make further edits, do some research to select the right video editing software. There are many free and paid apps that allow you to do basic edits on your phone. The software that comes standard on your computer (iMovie, Windows Movie Maker) could also do the job, or consider a software like Camtasia or Adobe Premiere Pro for more serious edits.
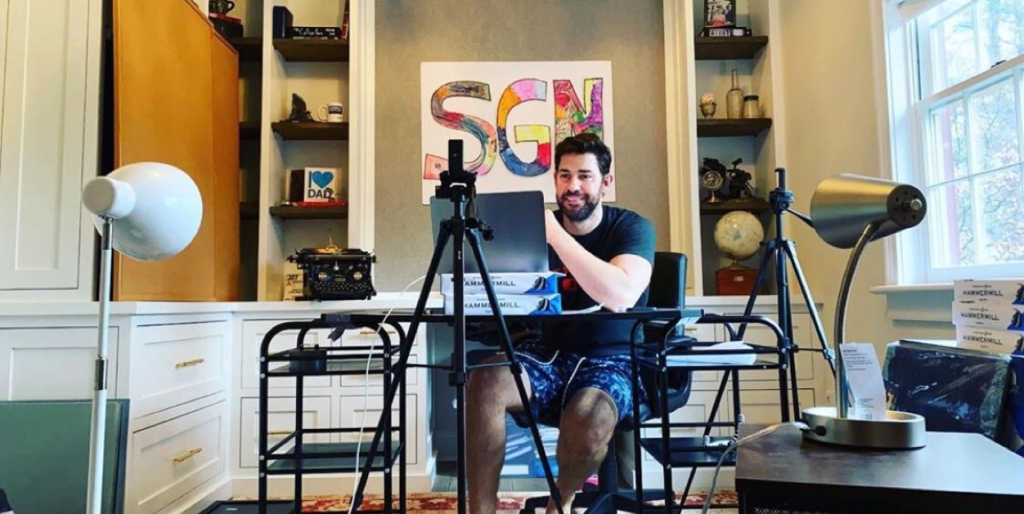
We hope these basic home video tips are helpful! Remember, your setup does not need to be high tech to do the trick. For proof, check out how John Krasinski films “Some Good News.”
As always, we welcome any questions you may have. Contact us here!
Stay healthy,
The 2 Fish Co. Team
SHARE IT!


-
Miscellaneous
Unveiling the Power of Marketing Awards: How Recognition Transforms Client Success Stories!
-
Culture
Tools of the Trade